How to Create a Workflow
- Log in to your GenFuse AI account.
- Navigate to the Agent Workflows page from the sidebar.
- Click New Workflow in the top-right corner.
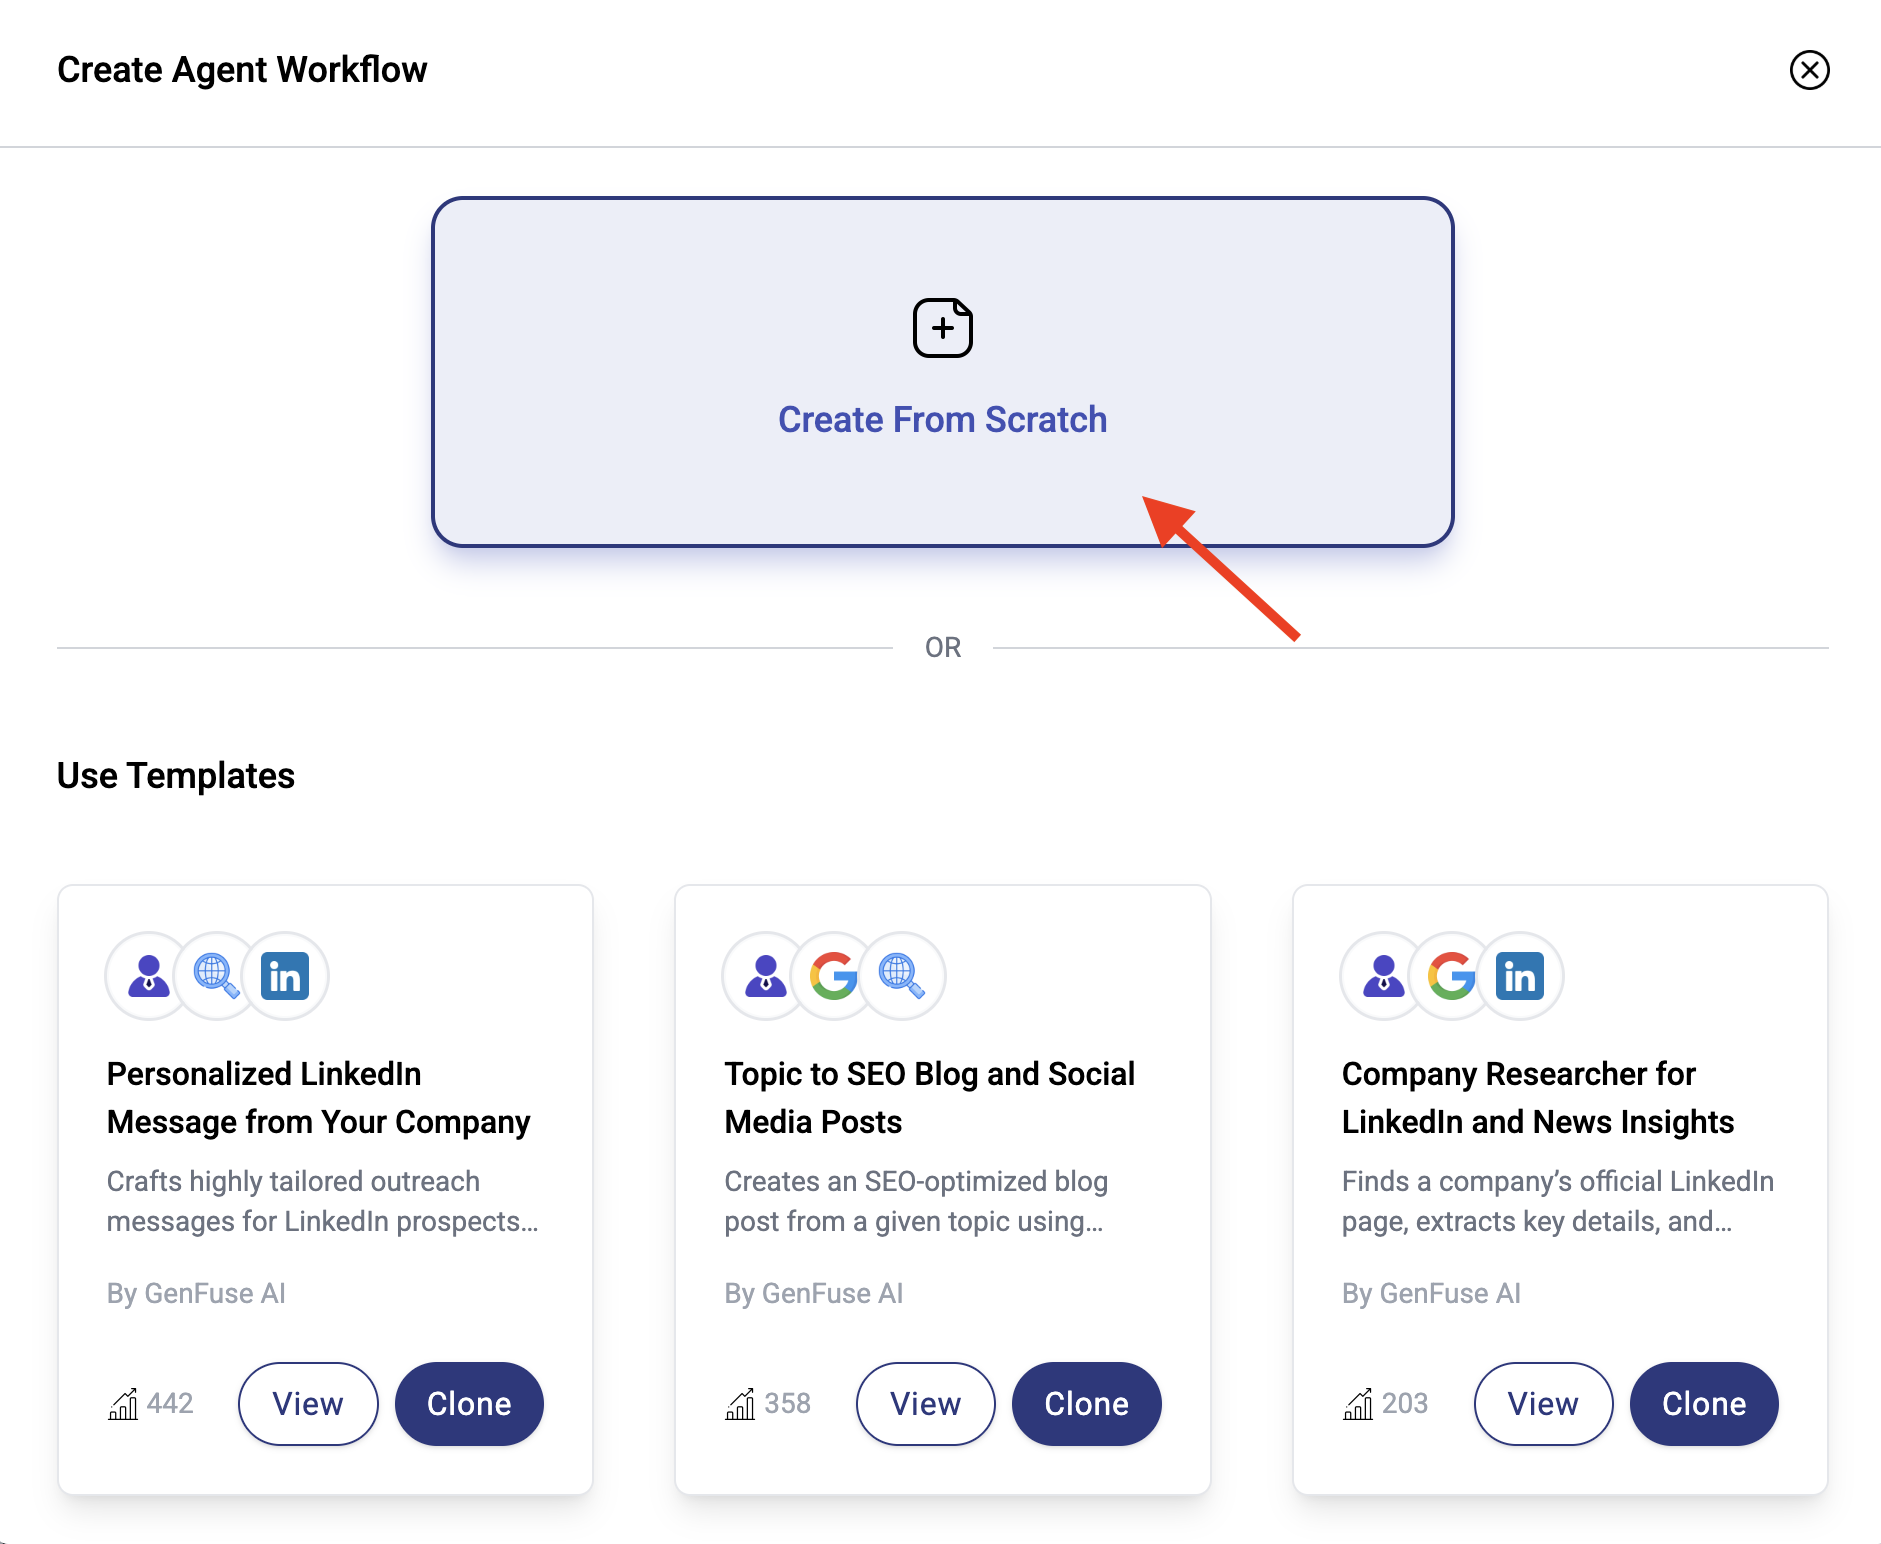
- Choose one of the following options:
- Use a Template – Start from a prebuilt workflow designed for common use cases.
- Start from Scratch – Begin with a blank canvas and build your workflow step by step.
- In the
Configtab, give your workflow a name and description. - Click Save to create the workflow.
- Your workflow will now appear on the Agent Workflows page, where you can run, edit, or share it as needed.
How to Customize Your Workflow
- Open your Workflow:
Navigate to the Agent Workflows page and click on the workflow you want to customize. - Modify the Configuration:
In theConfigtab, update the workflow’s name and description. - Customize the Workflow:
Use the drag-and-drop editor in theBuildtab to rearrange or replace nodes (Triggers, AI Agents, App Integrations). - Update Node Settings:
Click on individual nodes to change inputs, outputs, or add/remove tools as needed. - Test Your Changes:
After updating, click Save and then Test to verify that your workflow performs as expected. - Use the Workflow:
In theUsetab, run your workflow, view past runs and share it with your team.
Follow this guide to build your first agent workflow in under 5 minutes!